House Generator
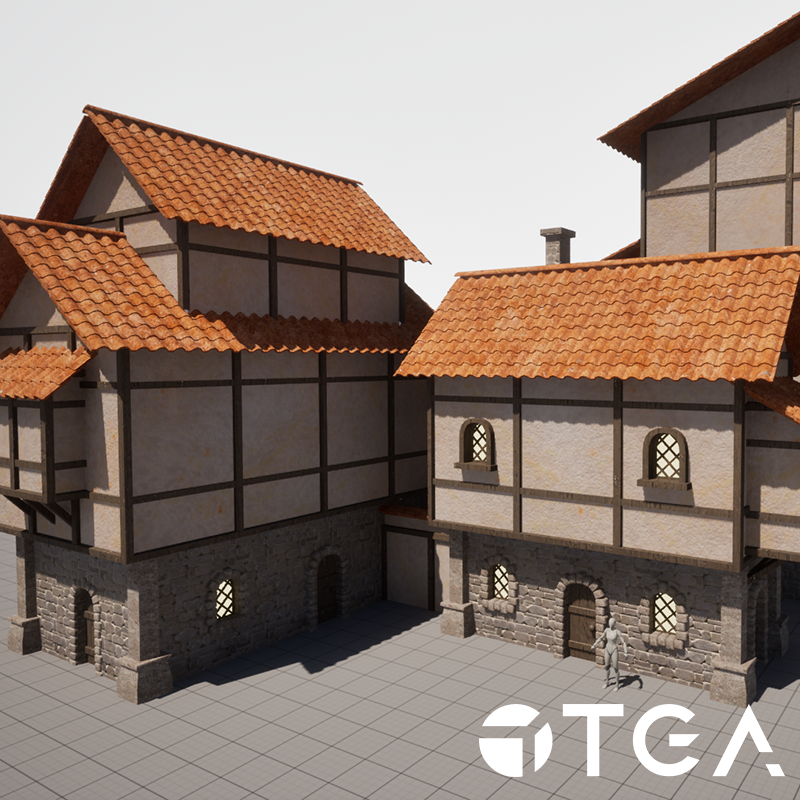
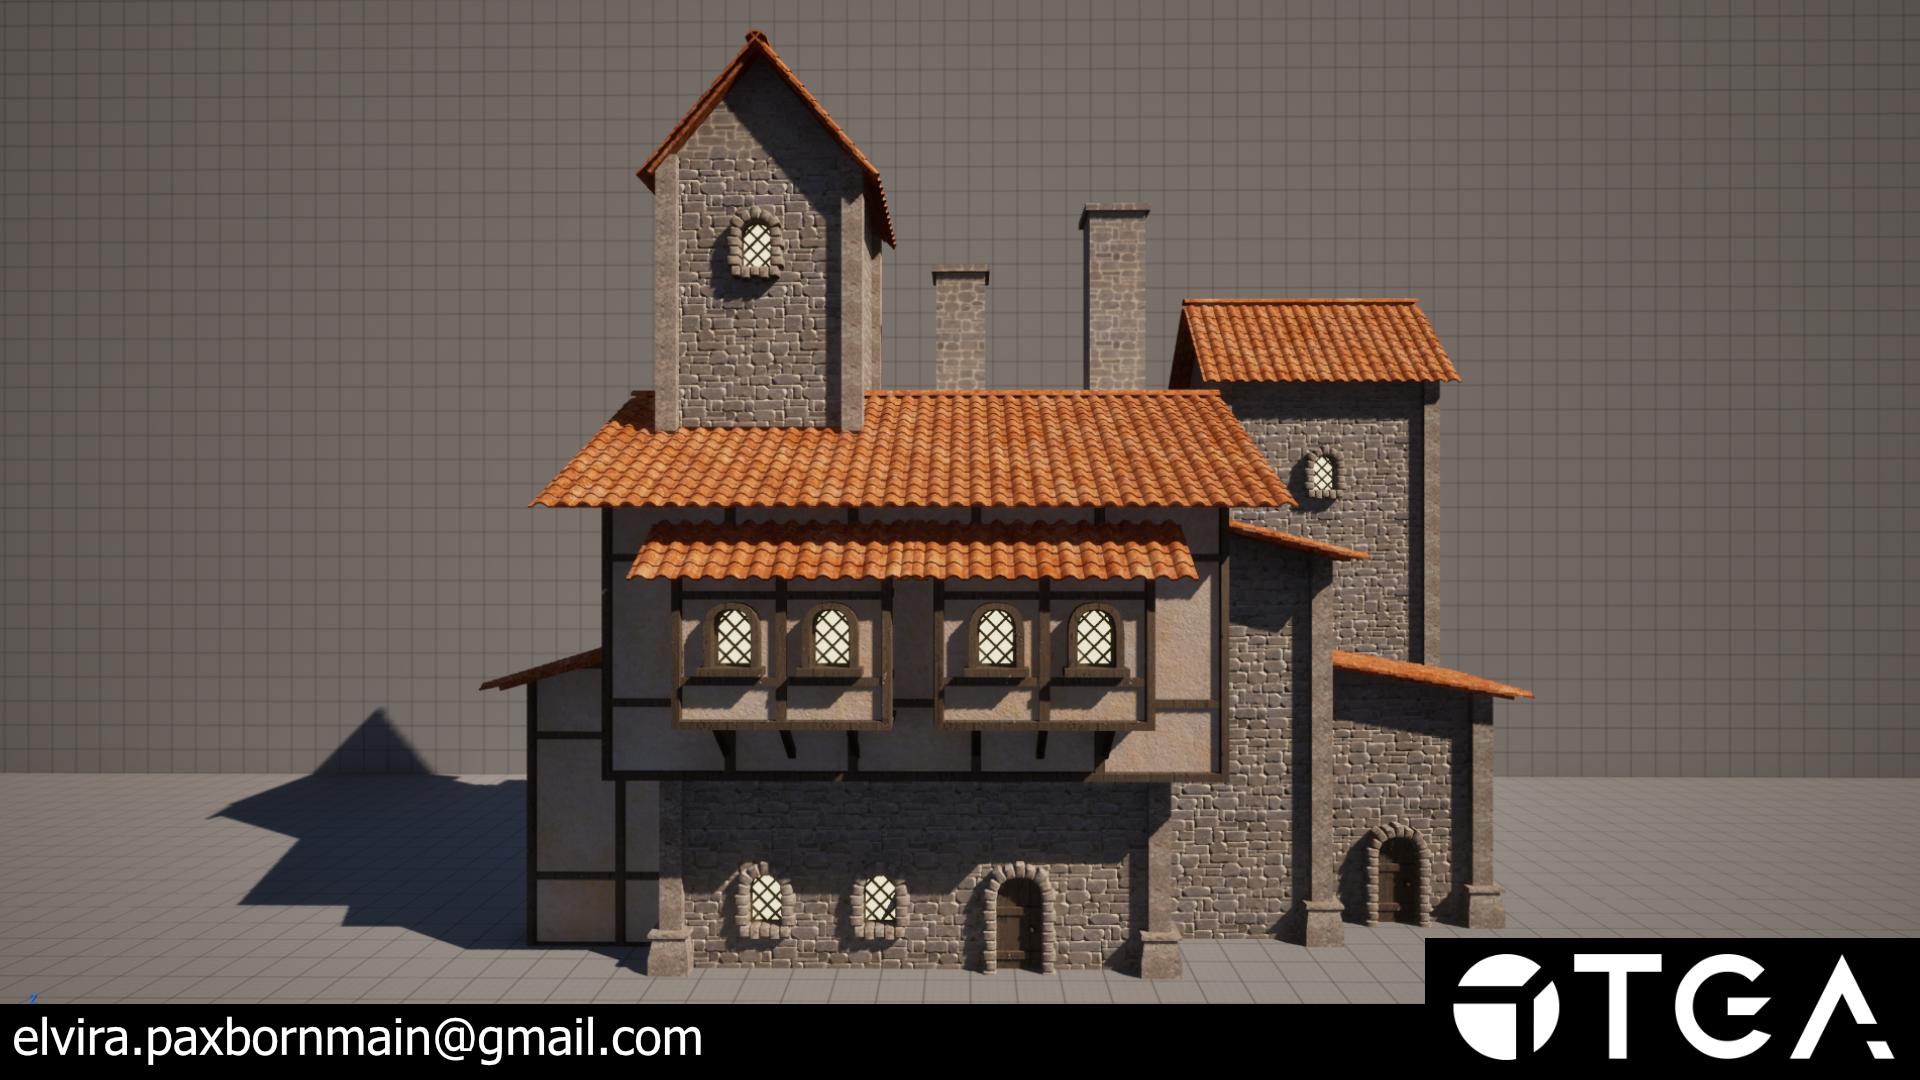
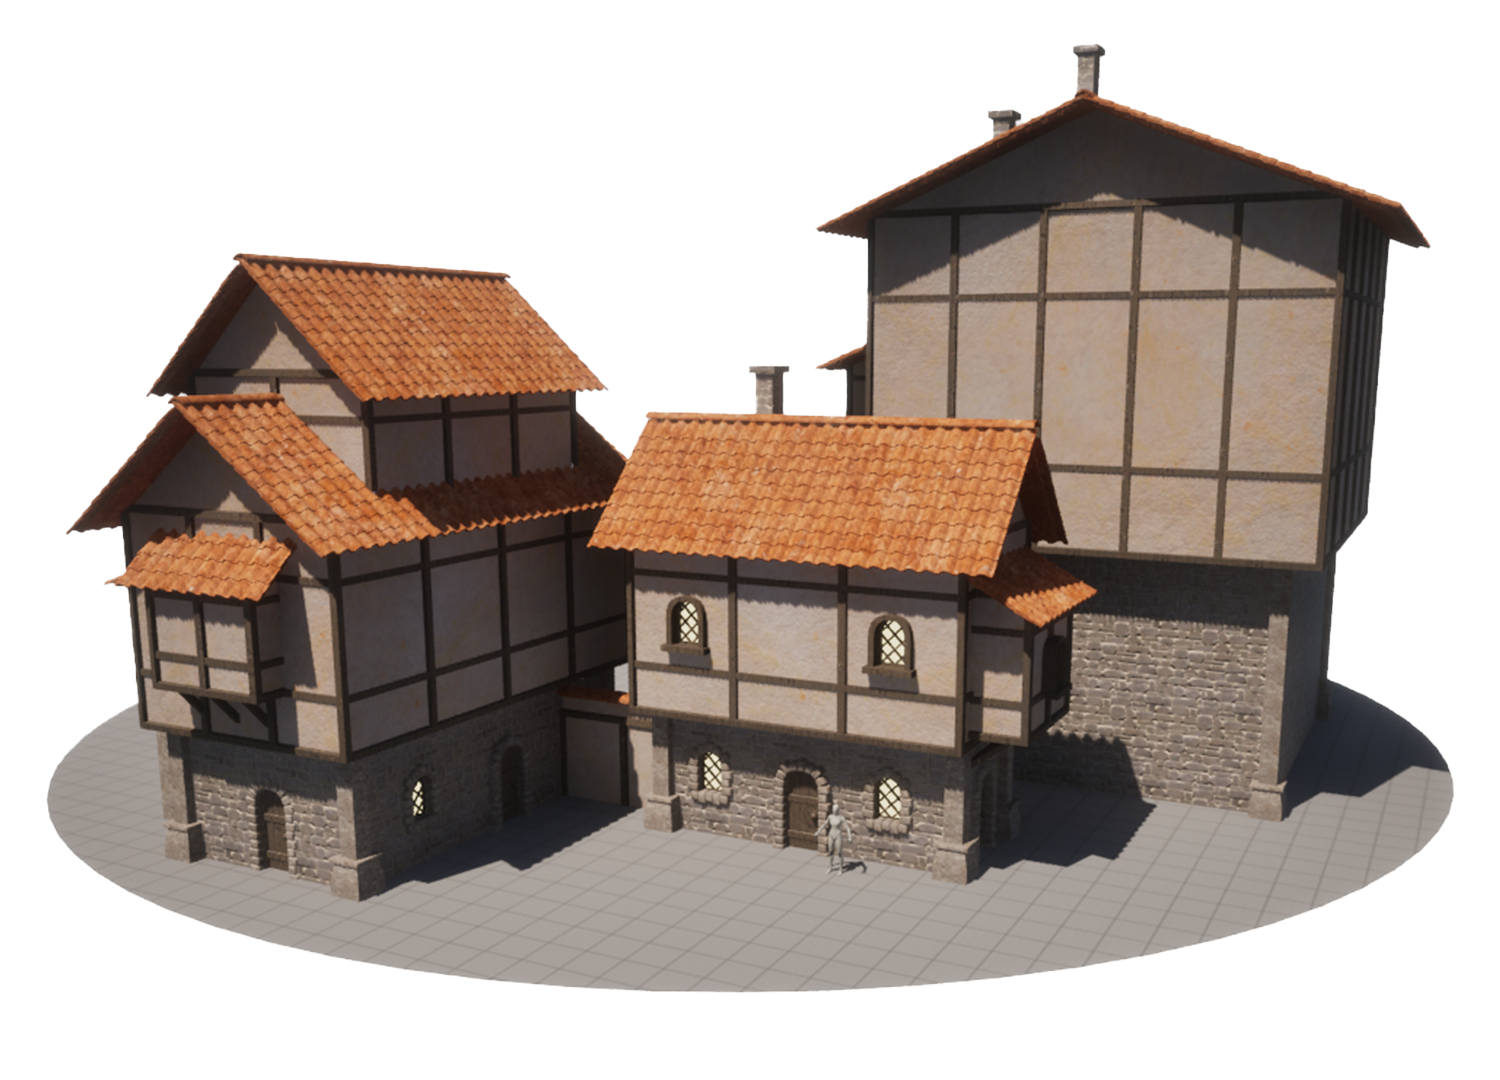
The goal for this project was to use Houdini to create a house generator that is simple to work with while giving the user a lot of control. This is my first "bigger" Houdini project and I had a bunch of fun making it! Below are some houses generated with the tool and further below are some breakdowns.


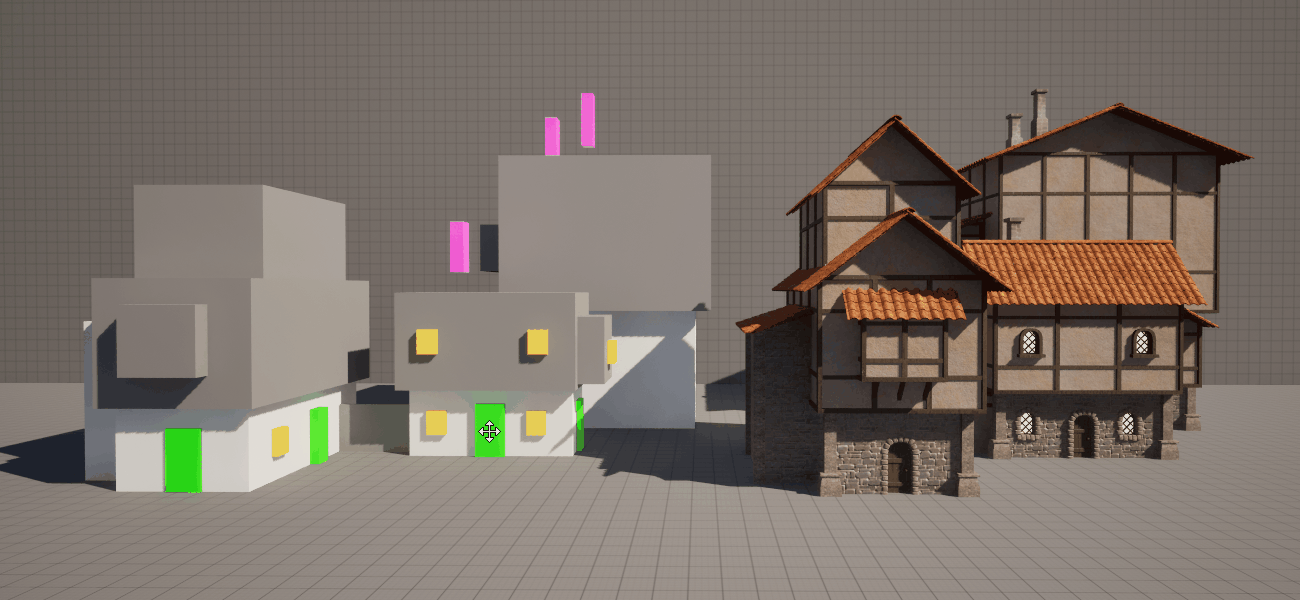

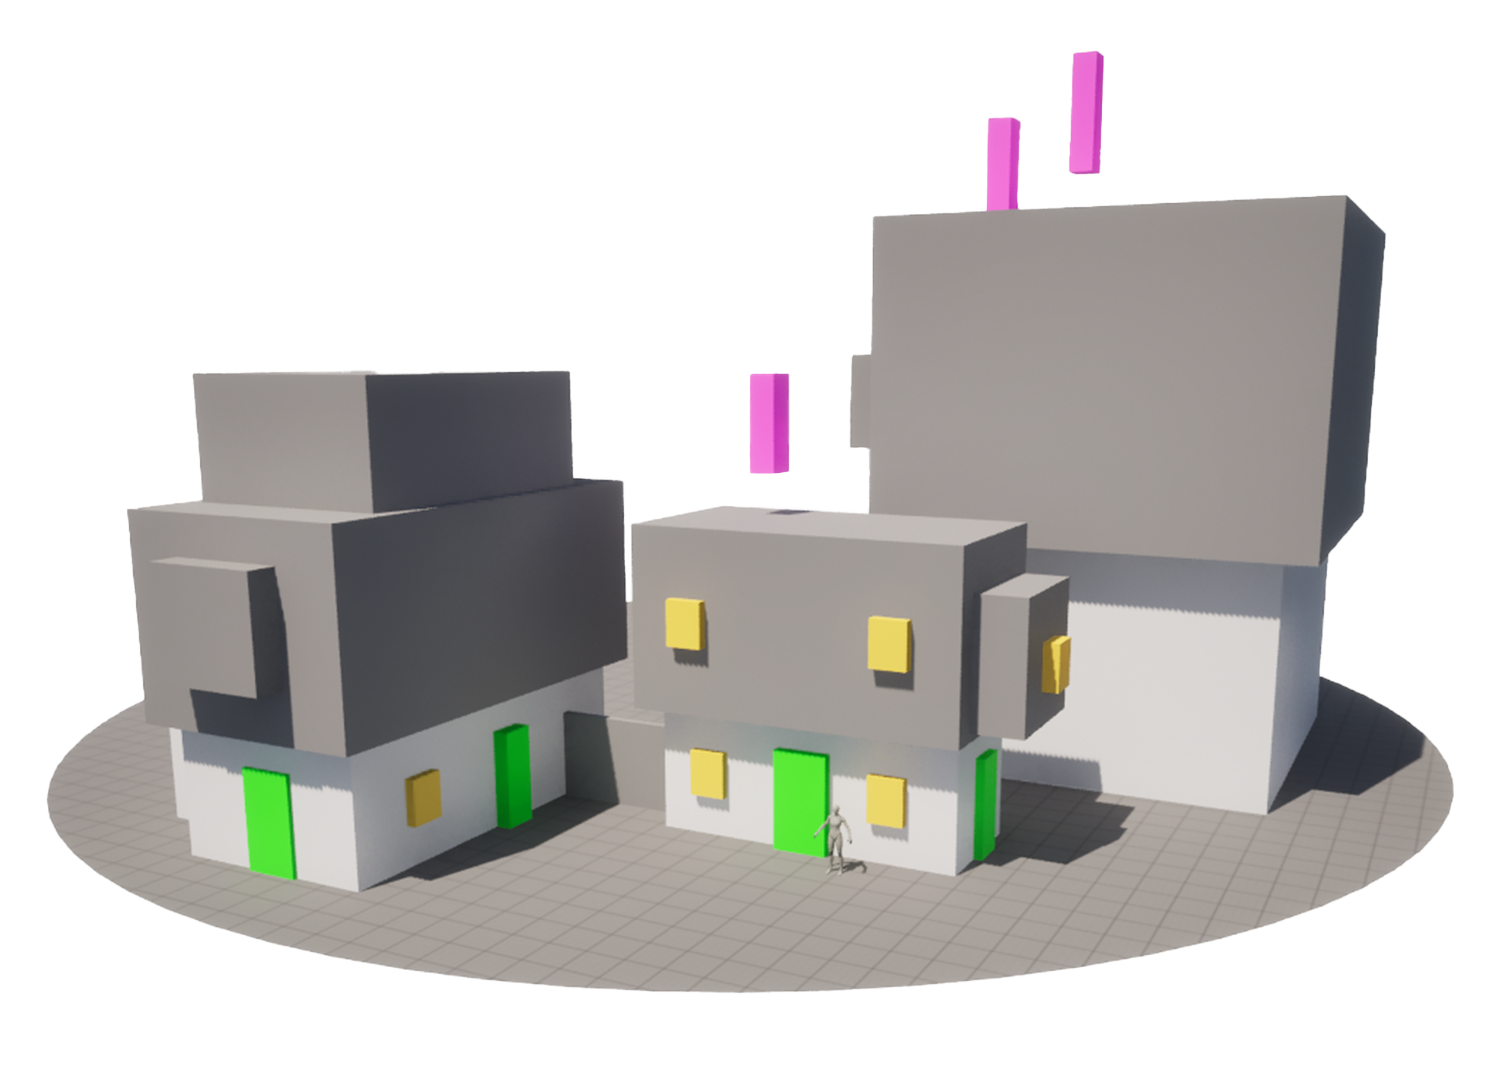
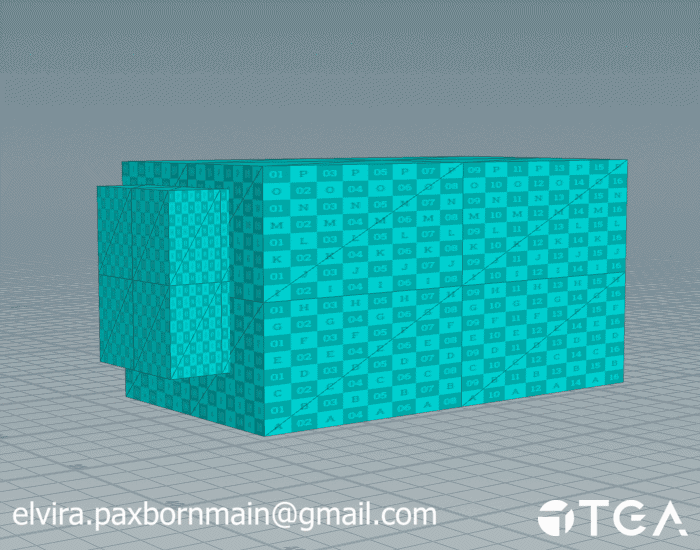
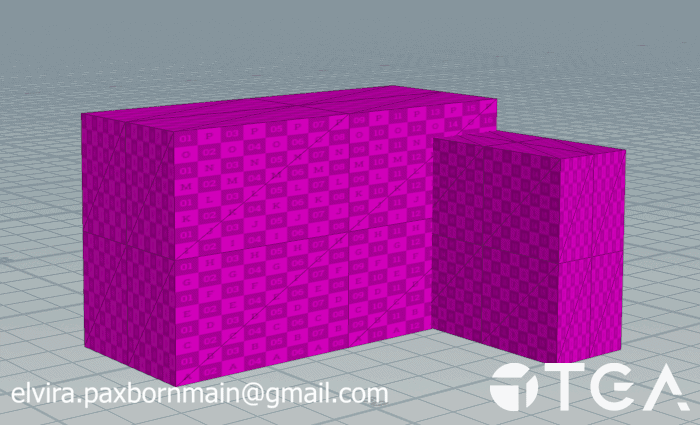
The inputs for the tool are just unreals default cubes with different materials depending on what you want the cube to become. I plan to continue the creation of more inputs.
Existing Inputs:
- Wall
- Alt Wall
- Door
- Window
- Chimneys
Planned Inputs:
- Tower
- Balcony / Archs
The boxes then go trough the graph to add pillars, roofs, beams and also turning the window / door inputs into points to spawn other meshes at. There is also functionality to customize the window / door types independently for the wall and alt wall inputs!

The roof is probably the most complex part of the HDA and I had to do a lot of iteration on it to make sure the different parts played nicely together. Below I'll break down some of the steps that go into it.
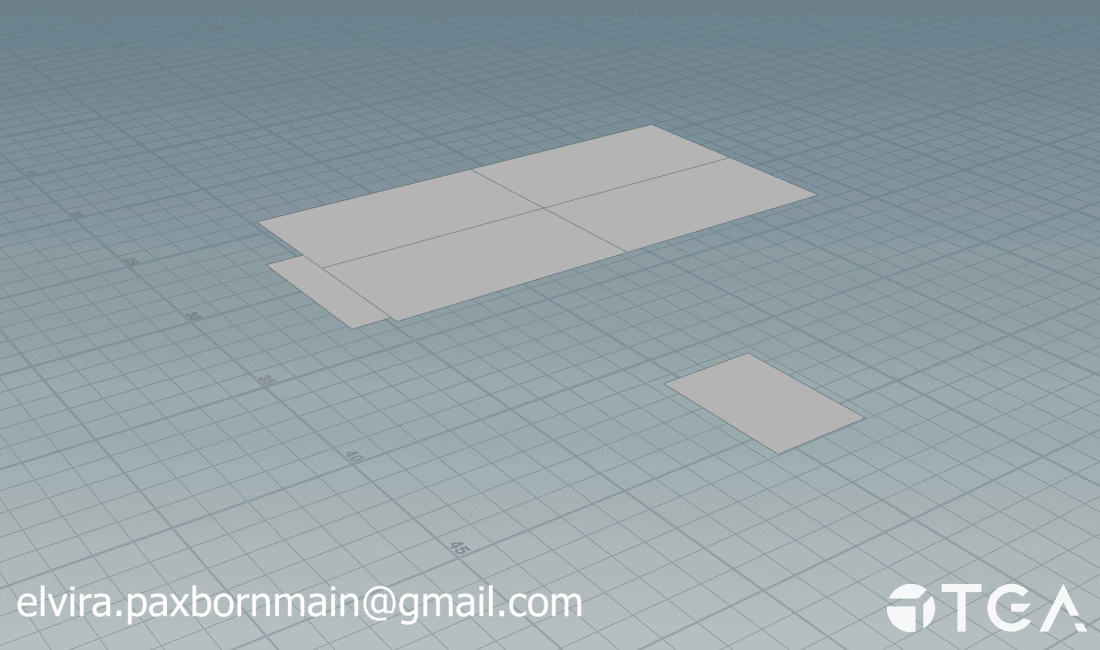
To begin with I merge the walls and alt walls with a union, select the top faces and blast everything else.
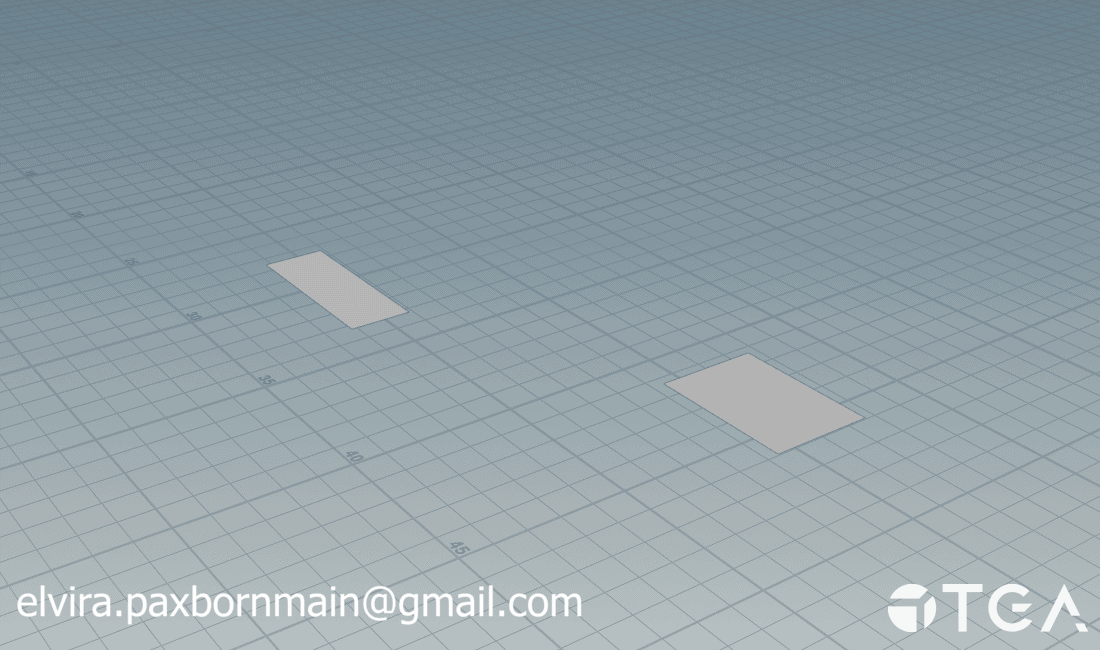
After that they are measured so I can split them into "Big" and "Small" pieces based on their area. They are then scaled up so that they'll extend out from the house a bit.

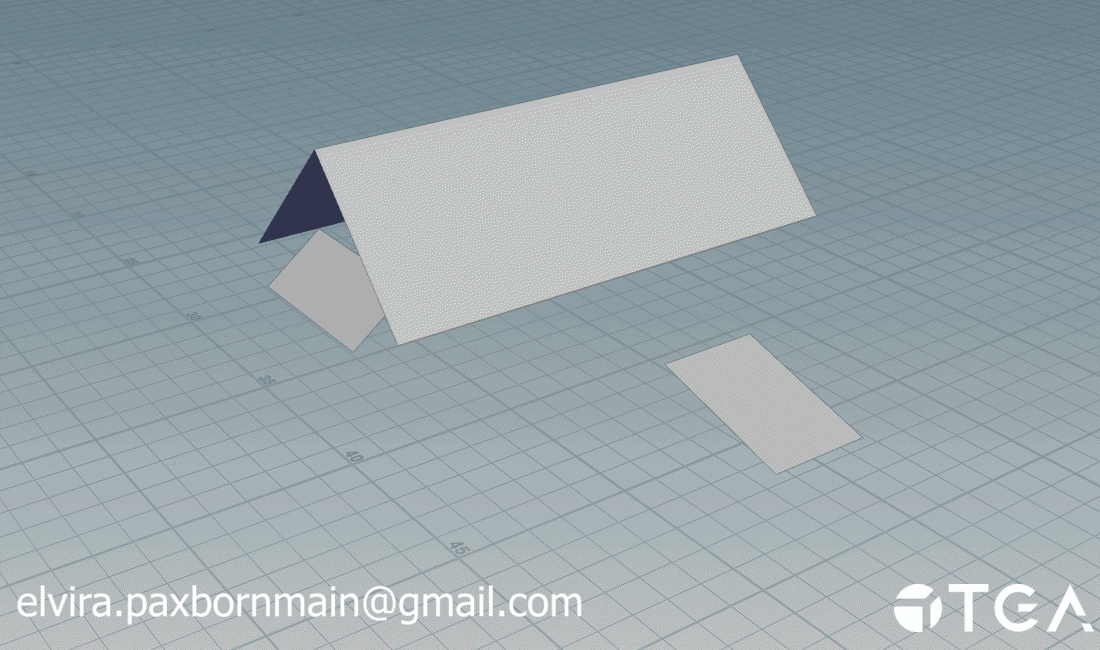
The big pieces are subdivided once and then I find their shortest inside edge by using a bounding box that is just the mesh turned 90 degrees. After I find the shortest edge I use that to find the longest one and translate it up, dissolving the short one afterwards.
The small pieces don't get subdivided like the big ones, instead I check what edge is closest to the wall and translate it up to create a slanted roof.
The big and small sections are merged, subdivided and then quad remeshed to get points to spawn roof tiles at. The tip of big roofs are handled seperatly to make sure the tiles face the correct direction.
Framing is only done on the alt walls. First I take the alt wall input and get all of the edges to use in a polywire for the basic frame around the walls.
The other beams use a resampled bounding box of the input to get more points to use in beam creation. To make sure the beams don't overlap with the base frame I downscale the mesh slightly and use it as a bounding object when grouping my nodes, blasting everything that isn't inside the bounds. After this I sort the points and create lines using the add node. These lines are then run through a sweep node to create the beams.
This is repeated for the other direction and the vertical beams.
Pillars are created by making a curve from the outer edges of the input, removing any points with less than 3 neighbours and then sorting the points before putting them through an add node to create vertical lines. The lines created from the add are then put into a sweep node and have their endcaps filled before removing leftover points.
The lower part of the pillar is modelled out from a box with some transforms and extrudes to later be copied to the lower points of the lines created earlier for the pillars.
Windows take the inputs bounding box and makes it into one point at the center of the object. It then checks what type of wall it is near and places a window mesh according to that wall. This is so the user can have different windows for wall and alt wall inputs.
Doors work the same way, with the exception that the point they keep is at the center bottom instead of the middle.
The windows and doors use the wall normals to make sure they are rotated the correct way.
Unlike the doors and windows the chimney directly uses its input as a base for its shape, this gives them a little more variety.
First I make a subdivided box from the shape, then I select the loop cuts and bring them closer together. I select the top verticies by normal direction and then promote them to edges and pull them in a bit. After that I select the top face with normals again and extrude it twice to make the top of the chimney.
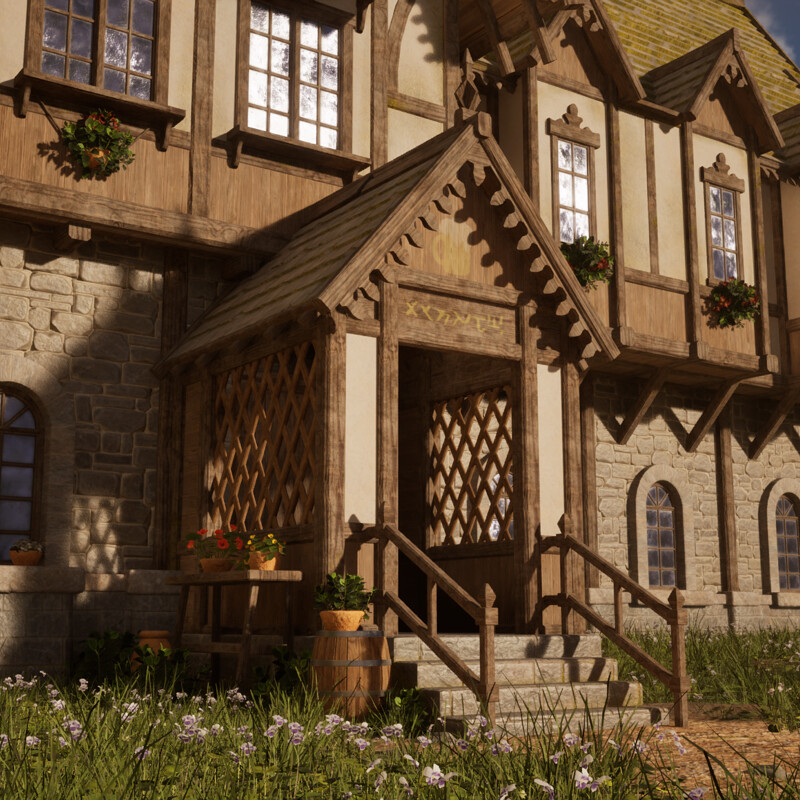
First I merge the original outputs for the walls and alt walls. After that is done I cut out the shape for windows and doors and place them down. The basic framing / pillars comes in, they are then filed down along with the walls to make space for the roof and the rest of the framing.
The materials for the building have already been applied in their own respective steps so when it is put into unreal they automatically show up. Note: Some of the materials used in this project are megascans at the moment.
The biggest challenge with this project has by far been the roof. There were a lot of possibilities and edge cases that I hadn't considered and had to spend a bunch of time fixing, even now there is still some things I'd like to improve on.
With that said, this project has been a lot of fun and I learnt so much from working on it. I am pretty happy with what I've managed to achieve and am planning to continue with the project on my own time to improve it further!